Tuesday, December 14, 2010

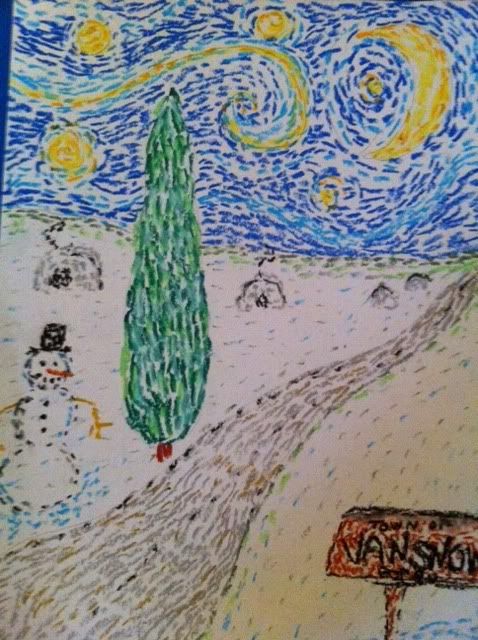
Town of van Snow

This is a project I did with 5th graders as part of an outreach program. Our inspiration was van Gogh. The art kits we handed out included oil pastels and that is what we used to create these post-impressionist renderings.

To get the kids started we talked a bit about van Gogh and his style. We looked at Starry Night and the movement created in the sky. I had each child sketch a horizon line, tree, and path leading to a vanishing point. We sketched movement in the sky and included the crescent moon. From here I encouraged the kids to add whatever winter items they wanted. Some added igloos, snowmen, gingerbread houses and more. I tried to get the kids to use short dashes to fill their pages and to use the white of their paper for snow. They turned out fantastic! I loved the imagination of these incredible kids!

Photobucket

Photobucket

Photobucket

You will need:
-Drawing paper
-Pencil
-Oil Pastels
-van Gogh reference material: Starry Night

Here are some of the great works made!
Photobucket

Photobucket

Photobucket

Photobucket

Photobucket

Photobucket

Photobucket

Photobucket

Photobucket

Photobucket

Photobucket

Photobucket

Photobucket

Photobucket

Monday, December 13, 2010

Winter Villages

I can't believe I have not posted since Thanksgiving. I have been so busy and have quite a few projects to share with you this week.

This little collage project is a lot of fun and I know you will enjoy making it. I had a wonderful opportunity this past week that I really enjoyed. Allied Arts brought me on board for a really fun pay it forward type of project. I got to go into a few OKC schools and hand out art sets, talk about being an artist and teach art projects to 1st, 3rd and 5th graders at a few different schools.

They were so excited to have their very own art set to take home and experiment with. These kids made a big impact on me. I saw so much creativity and talent. It was a lot of fun!

So, back to this little winter scene...

This project was done by 1st graders. Each child was given a 12x12 black piece of cardstock and a 12x9 piece of white cardstock. (The white piece has to be a bit smaller so after the pieces are cut, a gap will be left to make the street.) A pile of scrap paper in different colors was set in the middle of the tables. To start I asked the children to hold up their white paper "the long way." This is important because the wavy line that makes the road needed to be cut "the long way." I told the children to make one long cut across their paper. This cut could be wavy or whatever!

After the road was created by cutting and gluing the white paper, the real magic happened. I gave little instruction. I told them to cut shapes to create a winter village. Houses could be squares, rectangles...roofs could be triangles etc. We discussed the elements on a house; doors, windows, chimneys etc.

At this point I set them free and wow. They created some really amazing things!

You will need:

-Black cardstock
-White cardstock
-Colored cardstock
-Glue sticks
-Scissors
-Foam snowflake stickers optional

Photobucket

Photobucket

Photobucket

Photobucket

Photobucket

Photobucket

Photobucket

Photobucket

Photobucket

Photobucket

Photobucket

Photobucket

Photobucket

Wednesday, November 24, 2010

Happy Thanksgiving!

Gobble Gobble!
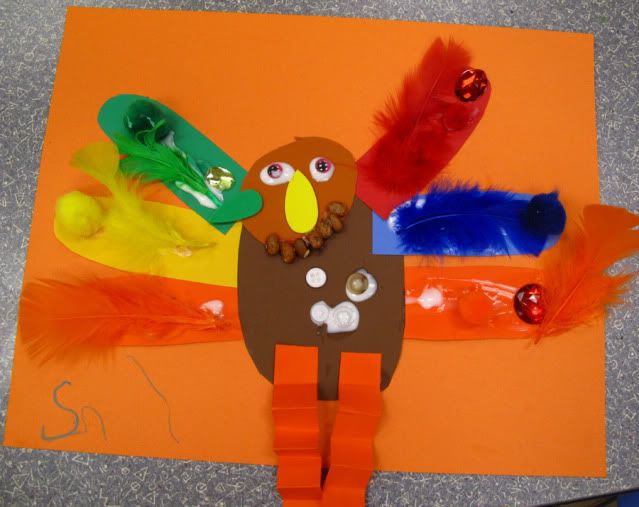
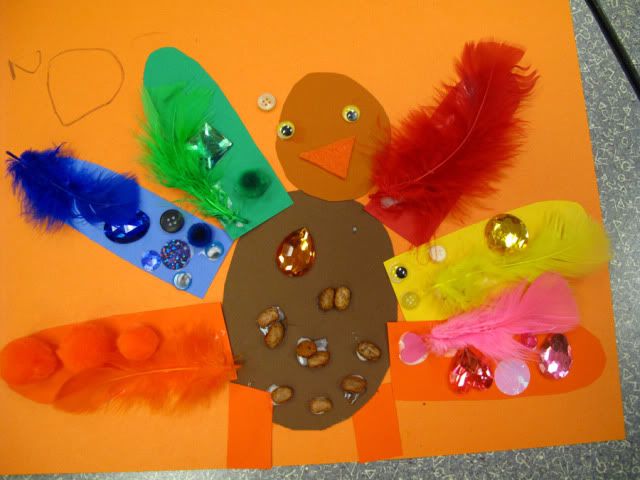
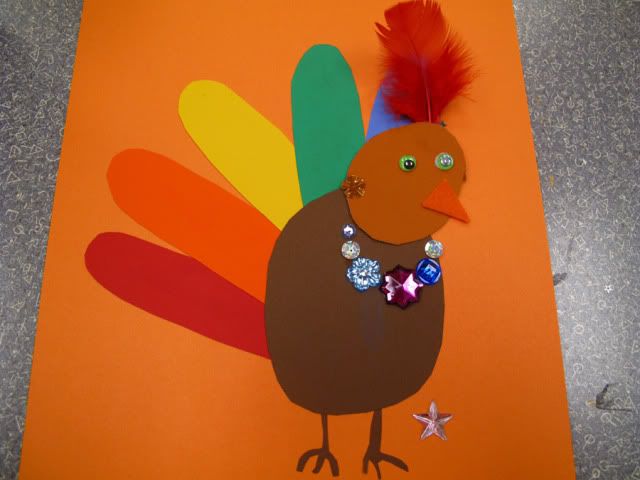
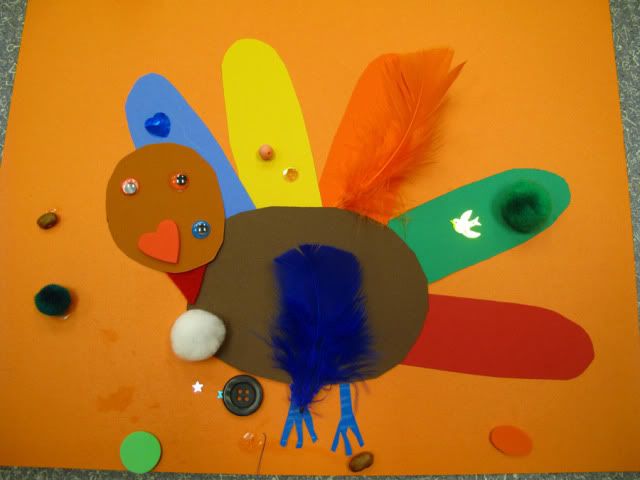
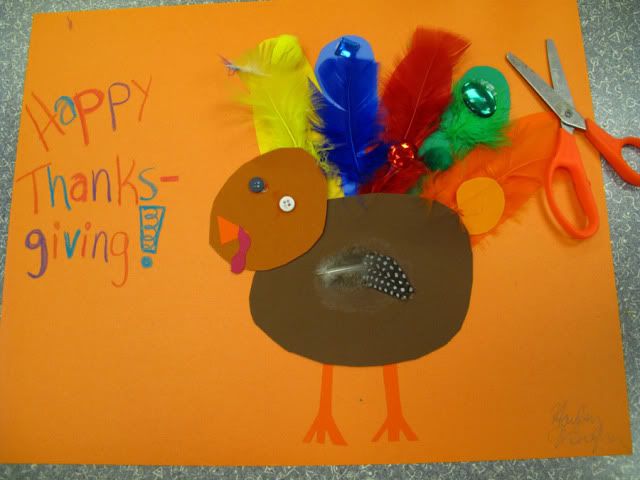
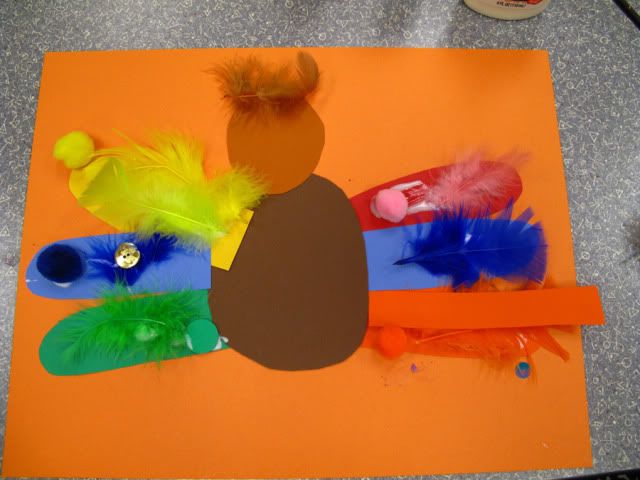
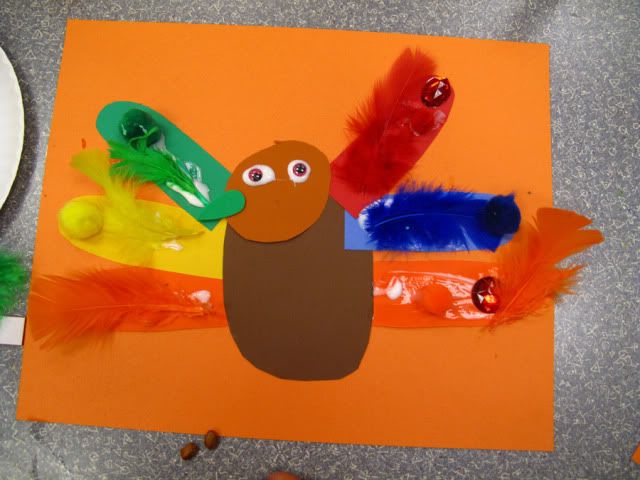
Happy Thanksgiving! I had a wonderful time at the OKCMOA's Tiny Tuesday program this month sharing my fun turkey project with children ages 2-5.
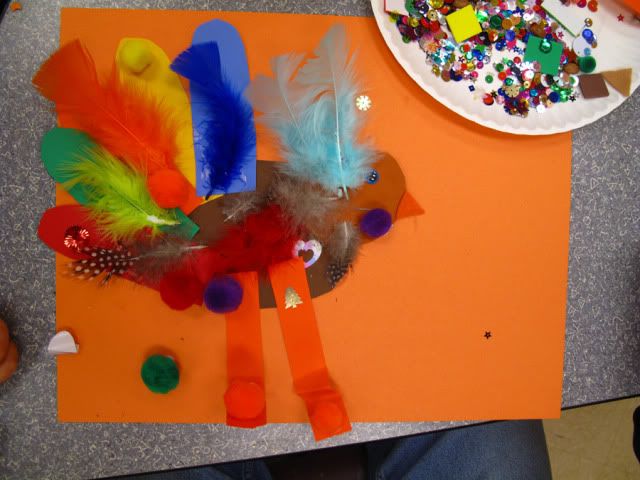
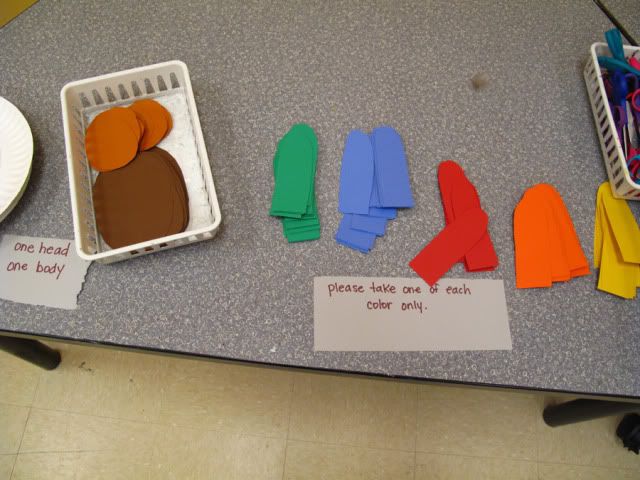
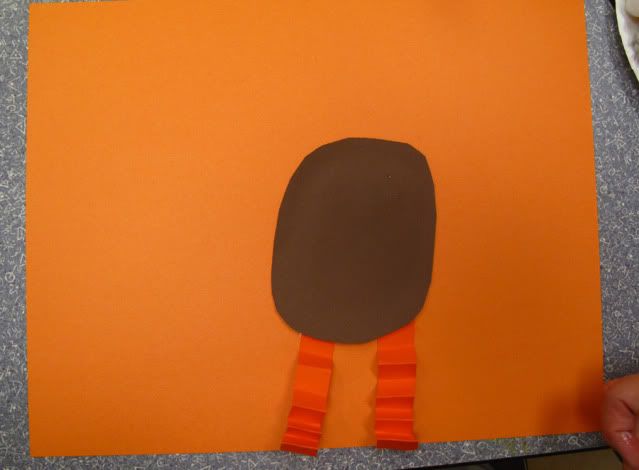
Each child began with a piece of orange tag board. Then they went through the assembly line to get all the pieces.

Photobucket

Photobucket

Photobucket

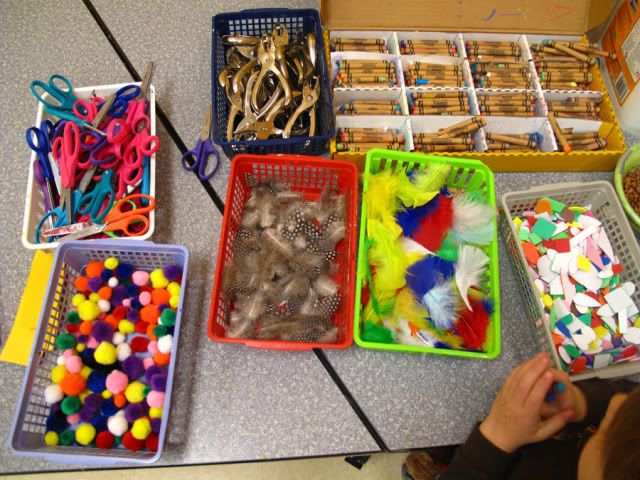
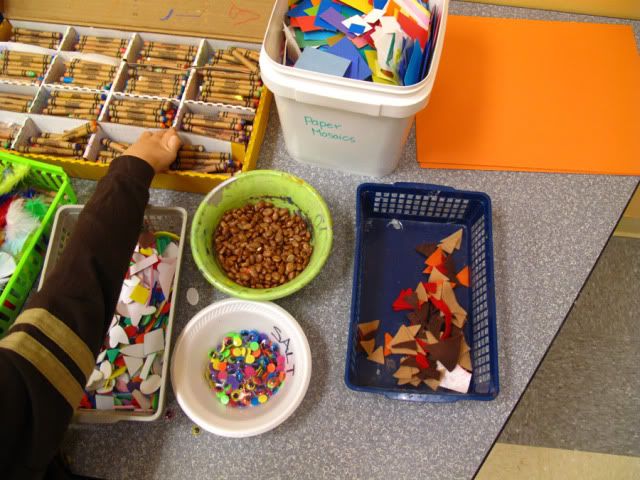
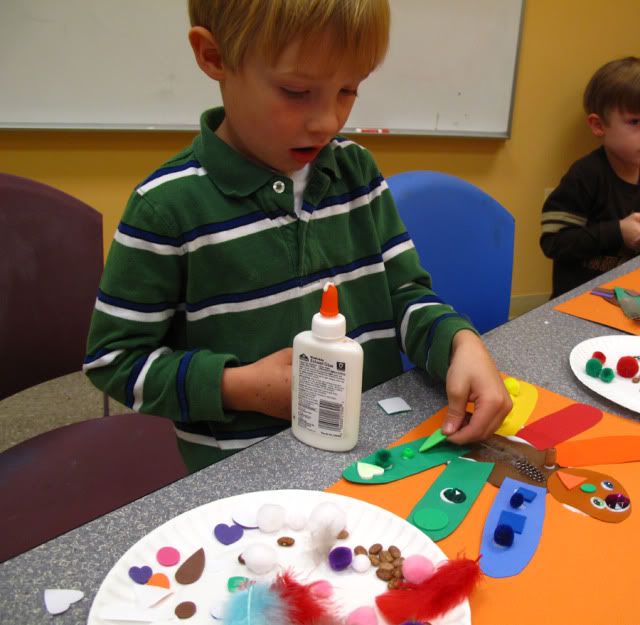
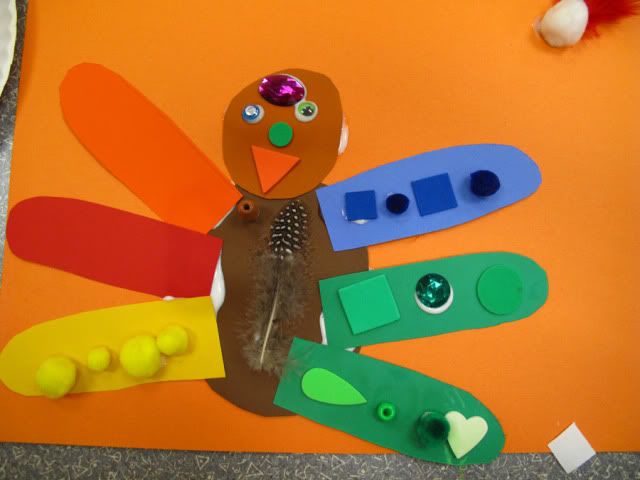
I pre-cut the turkey body, heads and feathers. The idea with the turkey was to match the color of our turkey paper with the color of our embellishments. For example, kids glued yellow pom poms, real feathers, buttons and jewels on the yellow paper feather.

First we glued our turkey bodies on our paper.

Photobucket

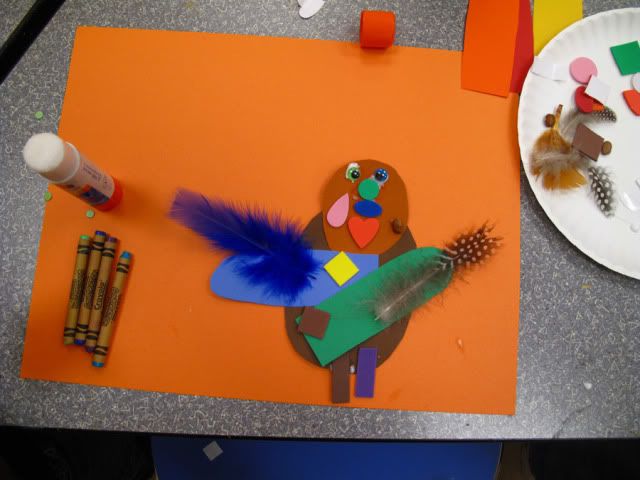
Then we glued our feather and legs and began to add our embellishments. Then they could add crayon to really customize their turkeys.

Even my boys got to come with me since they were out of school. They were great helpers!

Photobucket

Everyone had a lot of fun with this color matching turkey adventure! Here are some of our finished pieces. Happy Thanksgiving!

You will need:
-card stock in variety of colors
-scissors
-glue
-feathers, beans, beads, pom poms, jewels, sequins, buttons and more.
-glue stick
-elmer's glue
-crayons

Photobucket

Photobucket

Photobucket

Photobucket

Photobucket

Photobucket

Photobucket

Photobucket

Photobucket

Photobucket

Photobucket

Friday, November 12, 2010

Feedback Fridays

Well, here it is. The first installation of Feedback Fridays. The idea was to call out my two favorite projects I saw during the week along with the site that sent me the most traffic. That is a bit tricky because it does not mean that they featured me or anything like that. They might just link to me-however, it still gets you come my way, so thank you! I think it's good for everyone, don't you? We're all connected here in blogosphere and I am all for supporting each other.

So.

The site that sent me the most traffic this week is

drumroll...

The Artful Parent. Thanks Jean! :)

I saw a lot of great projects this week and my favorite two are below.

This beautiful Starry Night Collage. Spectacular!

Find it at Art with Mrs. Smith

The second project I fell in love with was...

Autumn Paintings! Glorious!
Find this project at MN Art Gal

I hope you will go give these project some love. I love them and am sure you will too!

Have a creative weekend!