Wednesday, April 28, 2010

Audubon Birds

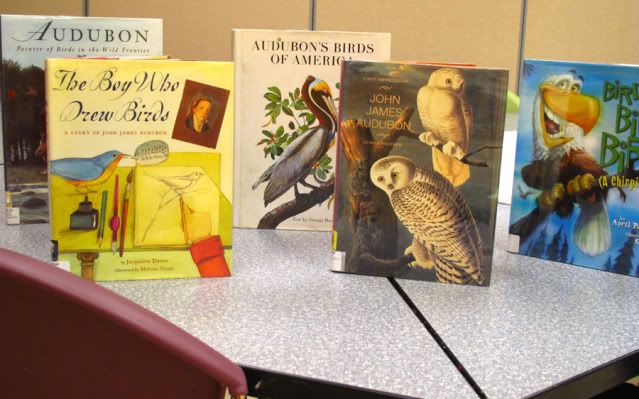
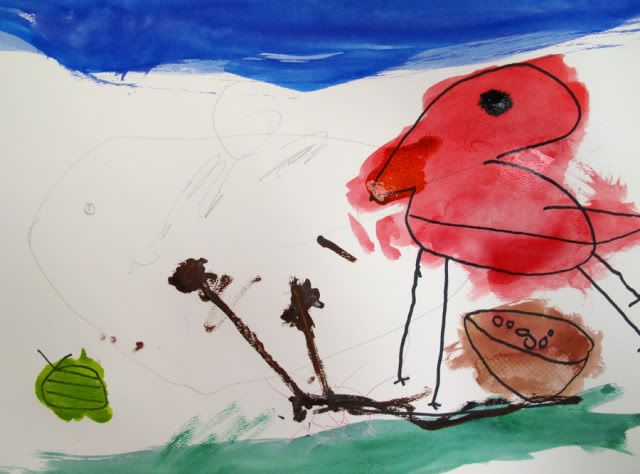
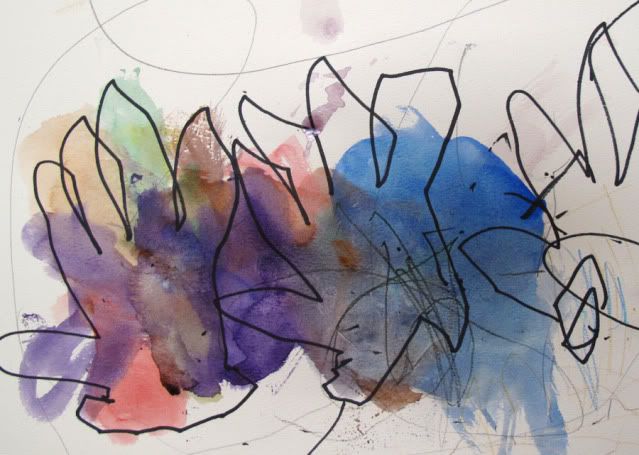
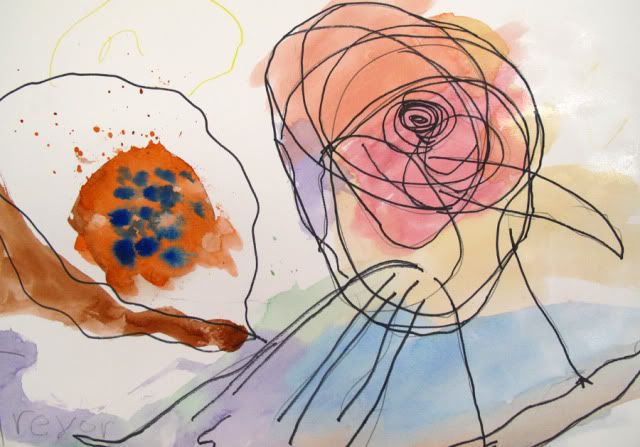
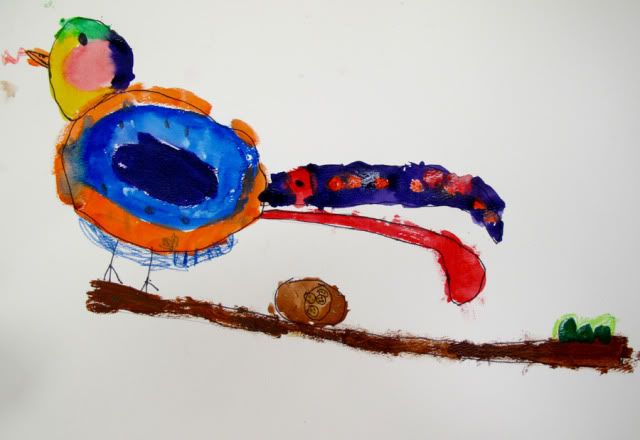
With Spring full steam ahead it's hard not to notice the birds. For a class of children ages 3-5 we focused on birds from the artwork of John James Audubon.

Photobucket

I gathered the kids around to look at works by Audubon. We read a silly bird story, Bird, Bird, Bird!: A Chirping Chant. After that we listened to bird calls from an iPod App. We talked about birds and all of the parts that make up a bird.

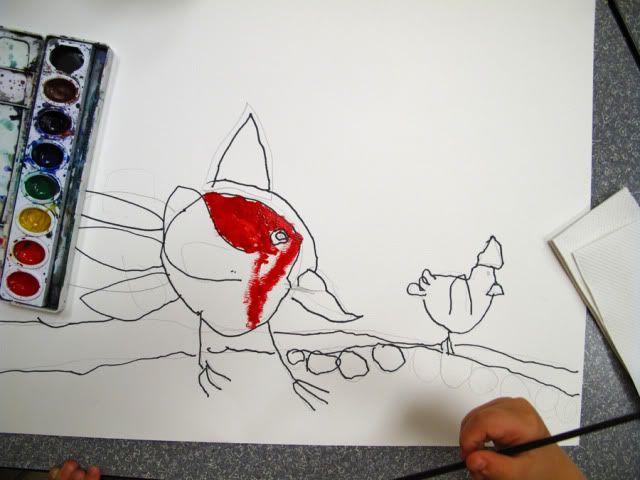
Without specific instructions or restraints the children used pencil then marker to draw their own birds.

Photobucket

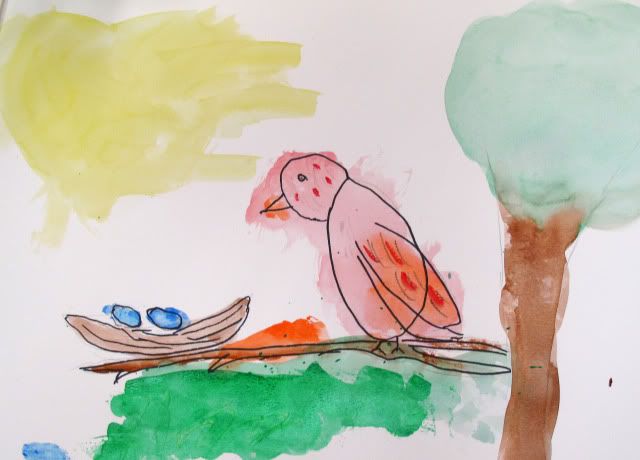
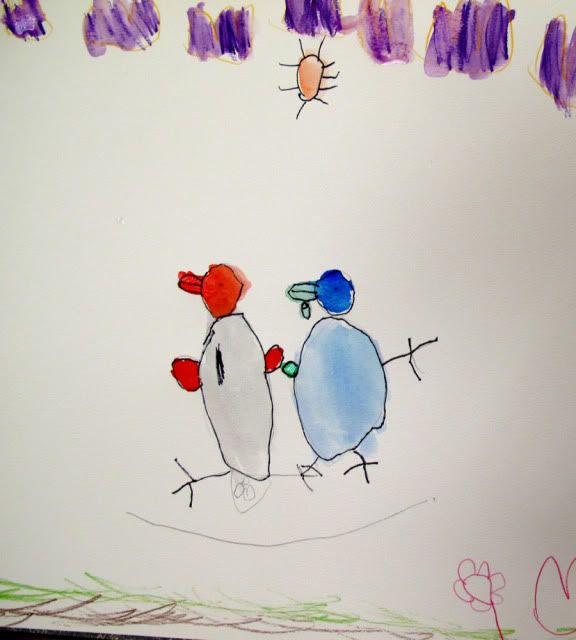
After that we used watercolors and watercolor pencils to add details.

You will need:
-watercolor paper
-pencil
-marker
-watercolors and brushes
-watercolor pencils

here of some of our works!

Photobucket

Photobucket

Photobucket

Photobucket

Photobucket

Photobucket

Celebrate Earth

I have enjoyed reading all of your artistic art projects that celebrated Earth Day. Here at our house we didn't get around to art projects but we did a huge project in the backyard that I thought I would share with you.

Photobucket

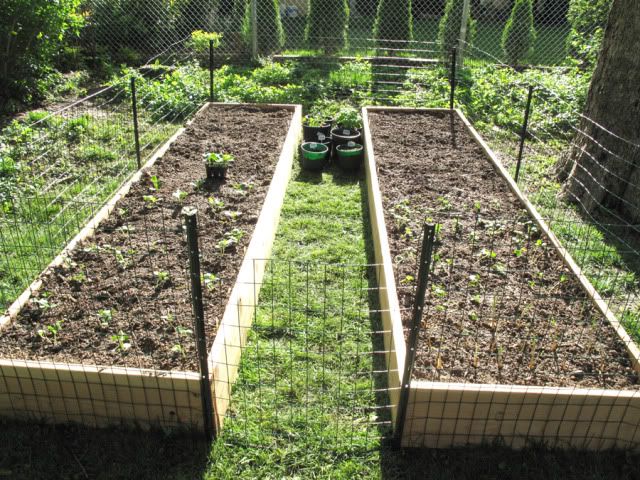
We made garden art. My husband built raised beds and we fenced them to keep our very large digging dog out. My children helped me plant seedlings and seeds. It was a real learning experience for them. They took notes and have been helping us water and weed. I can't wait to see what we grow. It's going to be a learning process for us all.

Photobucket

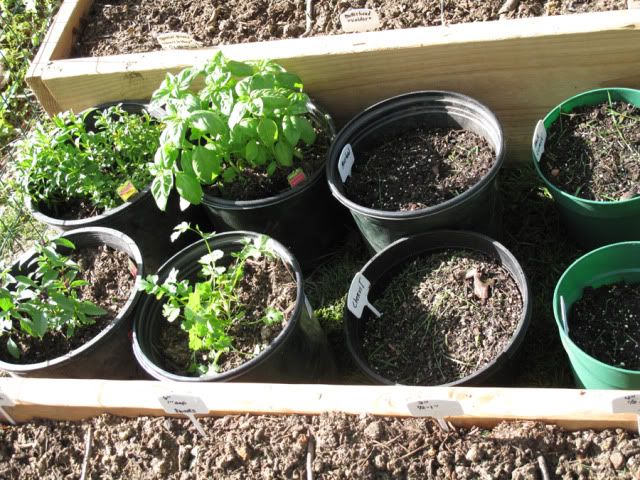
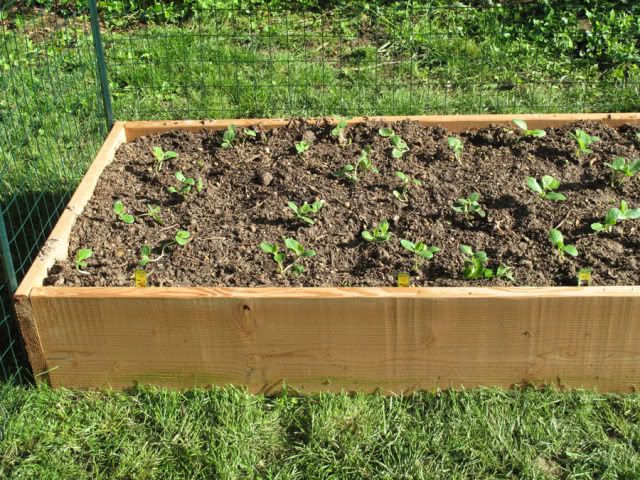
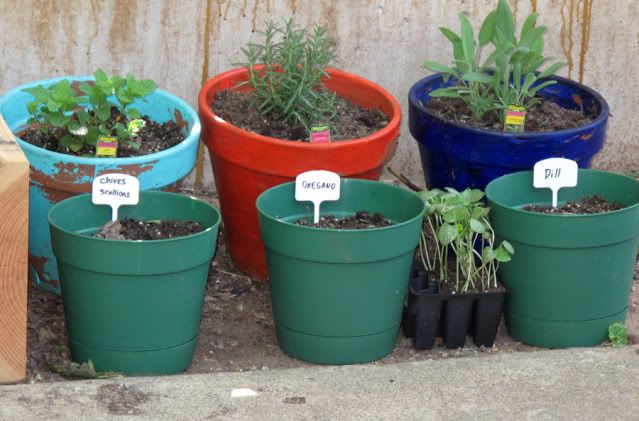
What did we plant? There are a total of 3 beds. The fenced beds have 6 kinds of lettuce, cabbage, radishes, 2 kinds of carrots, cucumbers, okra, onions, yellow squash, zucchini, several kinds of beans, peas and all sorts of herbs.

Photobucket

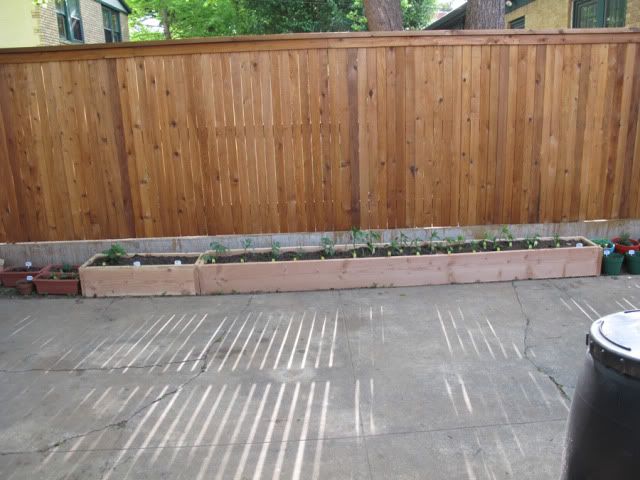
The other bed is filled with 6 tomato varieties, strawberries, red, green and yellow bell peppers, jalapenos, peppers, leeks and more onions along with other full sun herbs.

Photobucket

Photobucket

A fun book for gardening is Planting a Rainbow by Lois Ehlert. I think we might make some vegetable drawings this week. Stay tuned!

Tuesday, April 27, 2010

Process vs. Product


Let's set the scene. Your 3 year old rounds the corner smiling ear to ear and says, "Look Mommy, I made this for you!" The paper is covered with lines that swirl all over the paper. Your first thought is tornado! Your second unsaid thought is scribbling! You smile and say....

What do you say? I personally never start by guessing what it is. If you guess wrong it might hurt their feelings and may cause them to question why you don't plainly see that they have drawn you a map that leads to the biggest treasure ever that is right in the backyard under the tree.

"Can't you see the map goes all through the house, out the backdoor, across the backyard and stops right there beneath the tree?"

For young children you may have to ask them to tell you about their drawing, painting, etc. I pick out a specific part and use descriptive words to talk about the piece rather then just saying, I love it, it's beautiful! (watch those judgment words!) I'll mention how I like the thin or thick line, how it dots or dashes. The shape and color of paper, the medium used.) If they use color I might tell them I like how they used green and purple next to each other or how the colors mixed and they made a new color.

This leads me to talk more about Process vs. Product. While the thought applies to all ages I'm really talking about young artists. I think this is difficult for adults. I will start by asking, "if you are not an artist why aren't you?" "Do you like art?" "When was the last time you attempted a drawing or a painting?" For most of you I am betting it has been a long time. Why? In most cases it boils down to fear. Of what?

Well, for adults we seem to have this picture perfect thinking as to what artwork should look like. We have forgotten how to let go.

Our children have not. (and isn't it a beautiful thing?)

So what happens between there and here? Well a lot of things. Some people may have been criticized and for others I think it's just a lack of art esteem. Adults tell me all the time, "I CAN'T DRAW A _____!"

When working with children at the museum or with my own children I let them create the work themselves. I encourage them to do so.

Ex. In one of my recent classes we drew birds. We talked about birds, we listened to birds and we looked at all sorts of birds. I did not give them any stencils or specific bird instructions. Before we began we did talk about parts that make up a bird, like a body, a head, eyes, beak, legs, wings, feathers etc.

I like for them not to be limited. Sadly, they will have plenty of time for that. I really do enjoy watching the expression and process my children put into the work.

One of my favorite birds made that day was a child that used swirling lines to create a nest, eggs, a free form bird with a huge eye. He talked about it the entire time he was drawing and he looked up at me with the biggest smile and proceeded to tell me all about it. He used a lot of color and pattern. It was a brilliant creative process. Would someone not being in the class recognize it as a bird? Probably not. Like I said, the thrill, enjoyment and process had him tickled pink and it did me too. Not only did he learn about birds but he experimented with pencil, marker, watercolors and watercolor pencils.

Give them the freedom and positive encouragement to create. Correcting any child's artwork to make it pleasing to an adult deprives the child of the confidence to make their own choices.

The process and confidence building is more important and longer lasting than having them bring something to you to please you.

The process of making art is a learning experience for your child. It is a way to let them express emotion, feelings and things from their day. They cannot write. It's a would be diary. A way for them to tell their secrets. The fact that they can freely move their crayons or brushes all over their papers to tell you a story is beyond wonderful. Wouldn't it be great for us all to go back to that? Even for a minute?

Saturday, April 17, 2010

Marble Rolling Abstract Art

Photobucket

It was a rainy day today but that did not keep my little artists away from the OKCMOA! Two back-to- back classes filled with toddlers ages 15-36 months old came in to create with me this morning.

We gathered around to read Mouse Paint and talked about color and friendships.

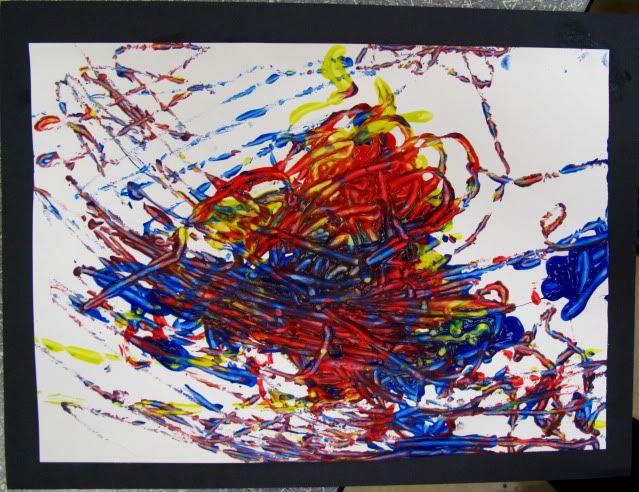
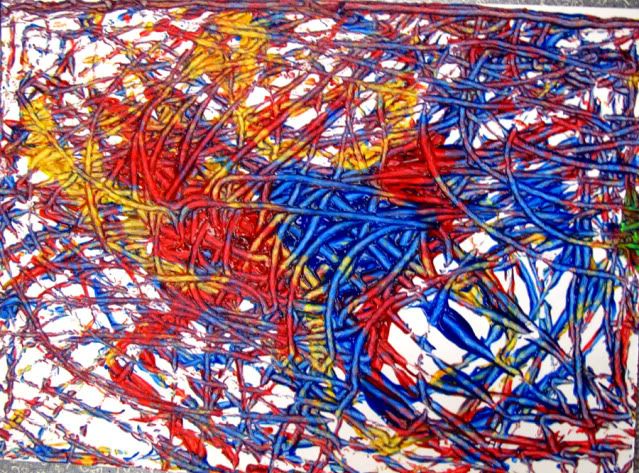
Our focus today was abstract expressionism. Abstract Expressionism is non-representational work in which an artist expresses themselves through form and color. This style was typically broken up into two areas, action painters and color field painters. We were all about action today.

Photobucket

The friendship part came into our discussion through the artists Alfonso Ossorio and Jackson Pollock. I talked about Pollock because almost everyone seems to know his work. I can then relate and tell a story about how Pollock's work related to and influenced Ossorio. We viewed Ossorio from our collection today and visited our 3rd floor galleries to view other action style paintings. (my classes are parent/child so I try to incorporate information for everyone!)

Friendships also occur between colors. Placing certain colors next to each other creates a certain mood, a feeling-whether good or bad! We can also mix our colors to create new friends and it is so much fun. We found all of our colors in the galleries and children get excited to see shapes and share their new knowledge with their parents and myself.
Photobucket

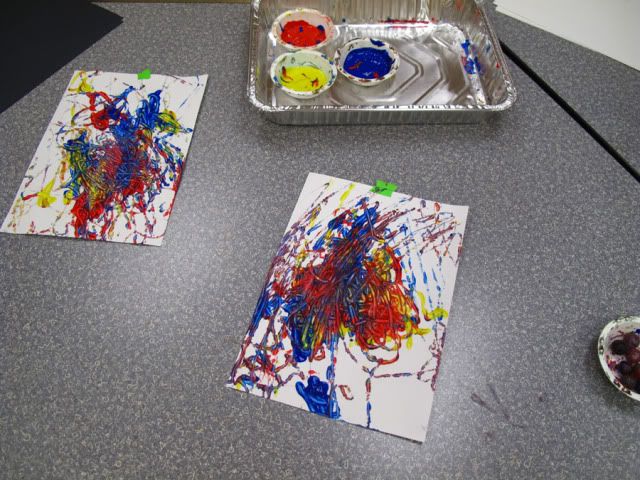
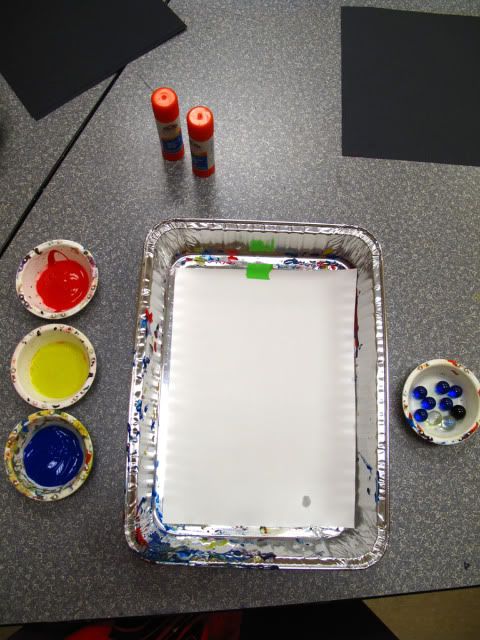
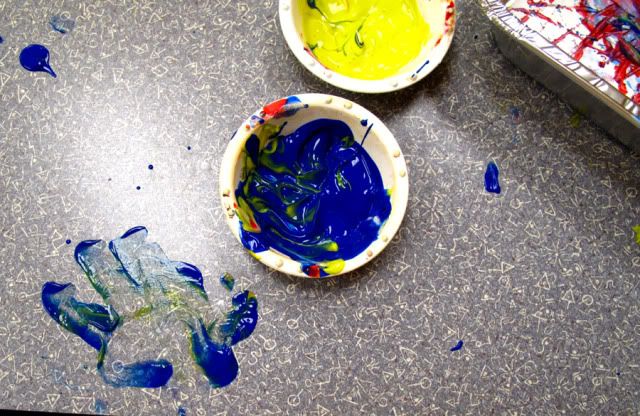
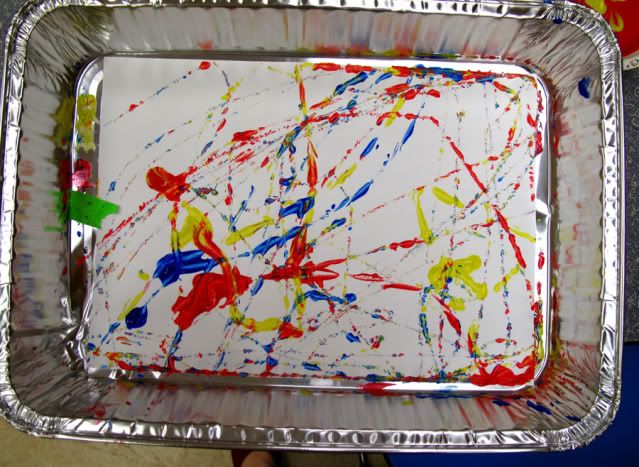
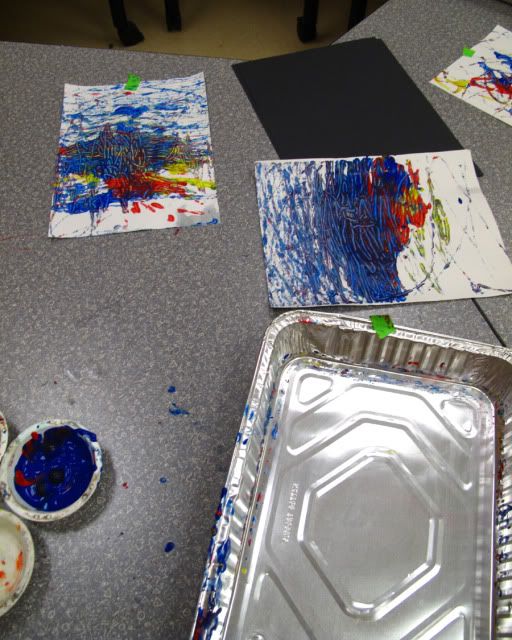
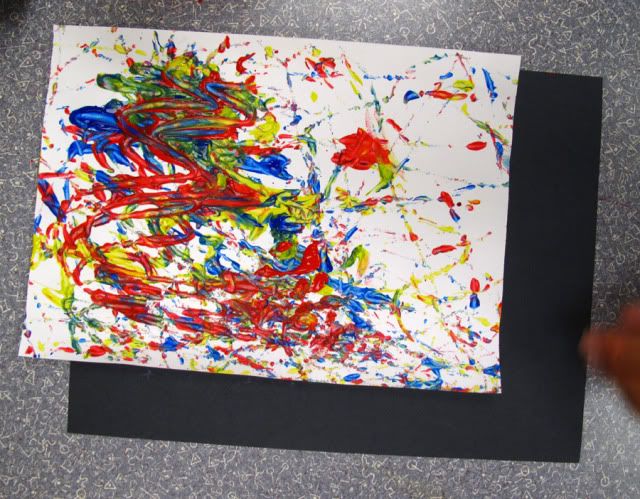
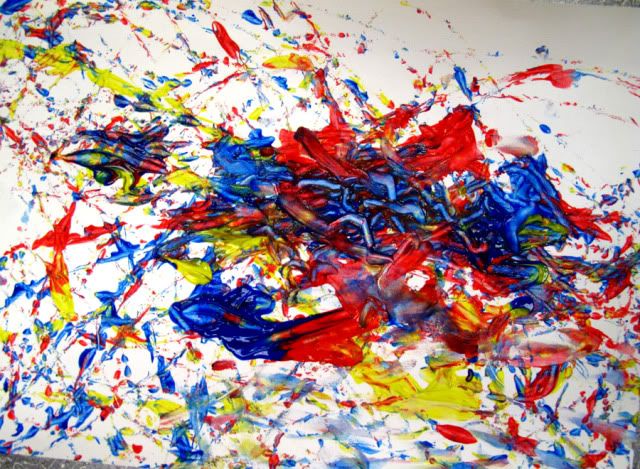
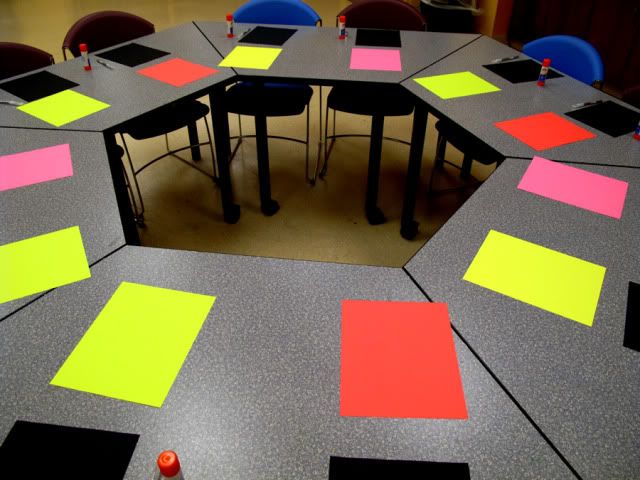
At our work table I had stations set up with paper taped in foil cake pans-deeper pans are better. Then I had three small bowls with paint and a small bowl with marbles. We dipped marbles in the paint and dropped them into our pans. By shaking our pans our marbles rolled all around! We had lots of shaking, lots of action today!

Photobucket

Photobucket

Photobucket

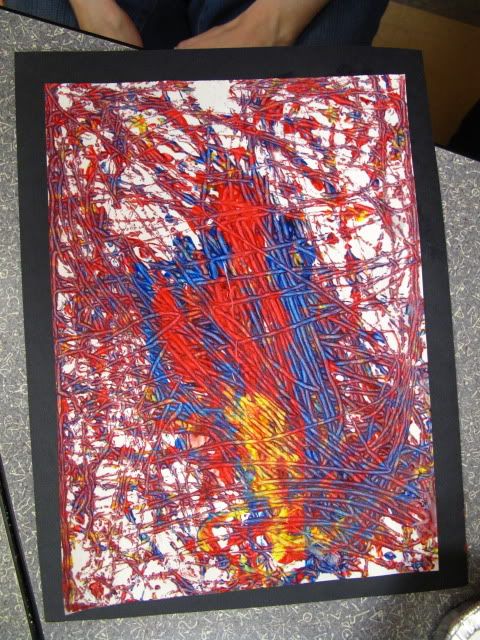
To finish our pieces we placed our painted works on a piece of black construction paper. This made our artwork looked matted and they are definitely ready to frame. I hope you enjoy this not so new but fun project.

Photobucket

Photobucket

You will need:
-foil pans
-white paper
-paint (I used blue, yellow and red tempera paints)
-marbles
-tape
-black construction paper
-glue stick

Photobucket

Photobucket

Wednesday, April 7, 2010

Suncatchers and Cutouts

Photobucket

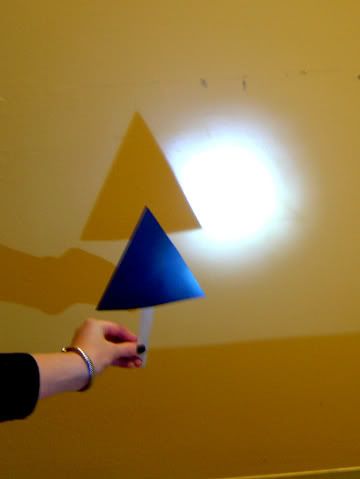
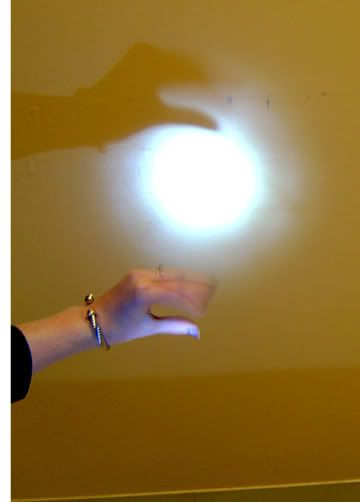
A small group of toddlers ages 15-36 months joined me for a class about light in art. I began the class by turning off the lights! I turned on a flashlight and we talked about different light sources. I shined the flashlight around the room and then put the light on a chair to throw the beam of light onto a wall. Here we cast shadows on to the wall. I began with some simple shapes and then gave each child a chance to cast their own shadow/hand puppet on the wall.

Photobucket

Photobucket

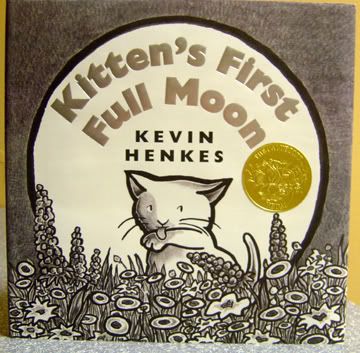
We read Kitten's First Full Moon by Kevin Henkes.

Photobucket

We lined up to visit the galleries. This was my last class to lead through the Jason Peters exhibit and I have to say, I am a little sad about that. It was a very exciting and fresh exhibit that I think everyone at the Museum got a little attached to. It leaves this Sunday so if you are local, you still have time to see it!

I lead the children and their parents through the exhibit and we talked about Peter's pieces, the use of light, darkness and how we could relate that to our own project.

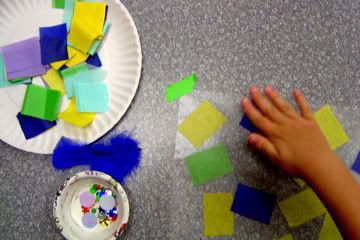
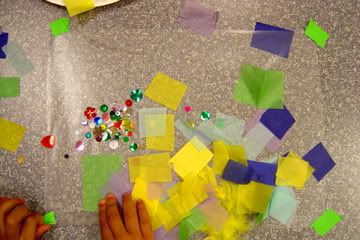
We made items to hang in the window and catch the sunlight. I have done this project before and the kids love it. Since my classes are enrolled in individually, I get a new group of kiddos who may or may not have done another class like this before.

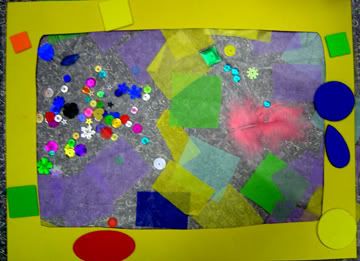
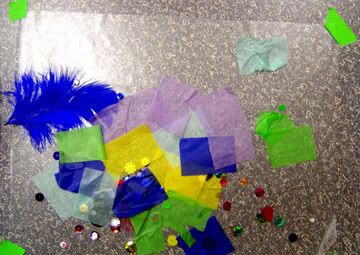
First I had all the contact paper cut to size. I placed the first piece sticky side up taped to the table with little dishes of sequins, a feather and cut pieces of tissue paper ready to go.

Photobucket

It is fun to me to watch how the kids go about putting something together. Some go right for the tissue paper, others go for sparkly sequins. Some pick through and stick things on slowly, some look away and place items on without even watching! I love it all. Using these small items and placing them down is a great exercise for building fine motor skills.

Photobucket

Photobucket

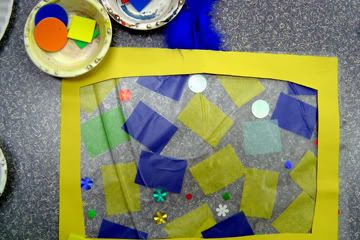
When the children were finished adding pieces, we placed another piece of contact paper over the top. Then we glued a pre-cut piece of construction paper over the top to frame our pieces. We decorated the frames with foam shapes and called it a day!

Photobucket

You will need:
-contact paper
-tissue paper
-sequins
-construction paper
-gluestick
-foam shapes

Positive and Negative Space using cutouts
FOR TEENS!

Photobucket

For much older kids I wanted to share another Peter's inspired project that involves the use of positive and negative space. I almost didn't include this because it is for older children(x-acto knife involved!) but in saying goodbye to Peter's I thought I'd throw it in because it was so much fun.

I presented this project for teachers at the OKCMOA's Educators' Evening. The OKCMOA offers a lot of exciting opportunities for educators and I encourage you to call and look into your own local museums to see what they can offer you.

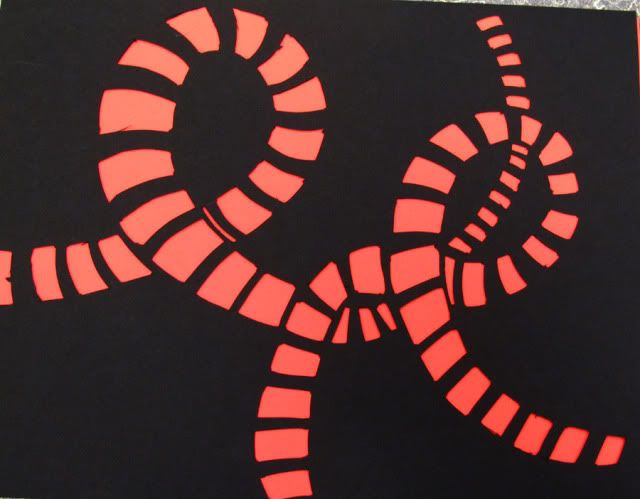
This fun filled evening included networking, food, power point presentation, gallery walk and hands on lesson plan ideas. I presented one of the lesson plans and talked about the use of positive and negative space using Peter's as the focus. We looked at his bucket sculptures and brought them to life on paper by drawing and then cutting space away.

Photobucket

Photobucket

Photobucket

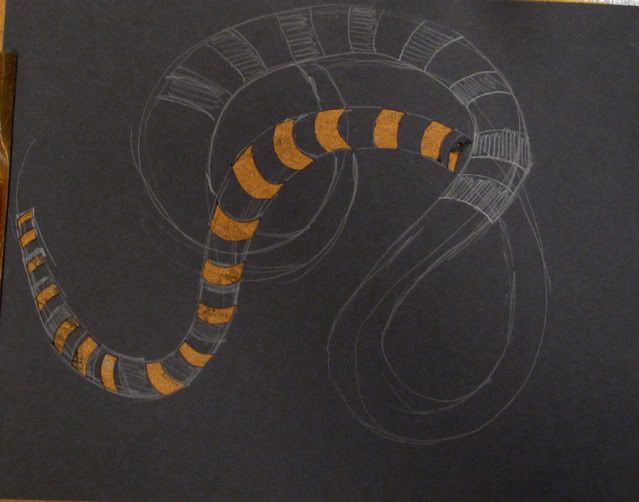
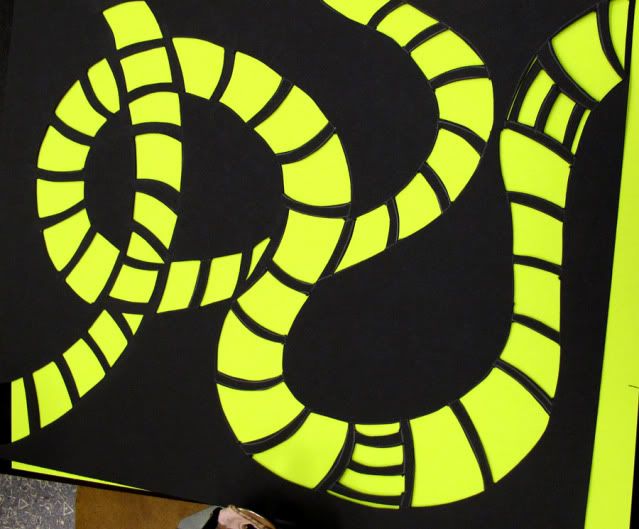
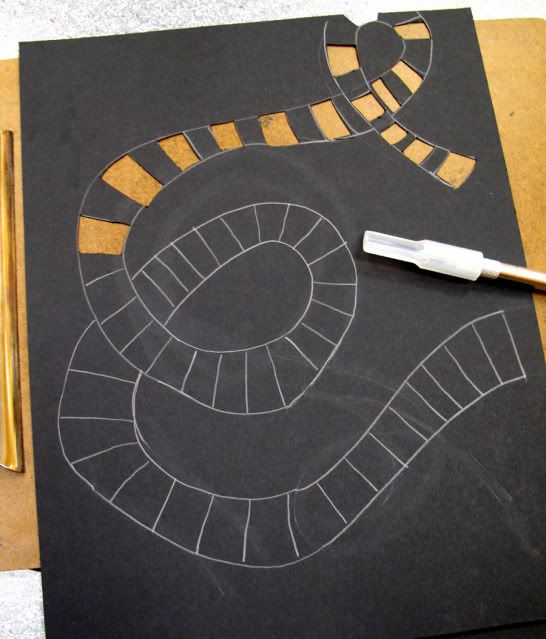
We began by drawing two organic and flowing parallel lines around our black paper. Then we used the area between those lines to lightly draw our rectangle shapes (positive space). We used an x-acto to remove those rectangles leaving some paper between each rectangle. The black piece of paper represented the negative space (darkness) or the space that is around the sculpture. The neon paper glued behind the black paper represents the positive space, in this case the sculpture. I should mention here that your piece will actually be in reverse since you glue the pencil drawing side down.

The teachers from a variety of backgrounds had a good time making their own piece before moving on to a second lesson plan that was about creating a Chihuly style bowl.

You will need:
-black paper
-neon paper
-pencil
-x-acto
-glue stick

Photobucket

Goodbye Jason Peters! You are an inspiration!